这是在今天开学考试后,总结自己让春树暮云适配PWA的一段经历和教程。枯燥无味
什么是PWA
PWA(Progressive Web App)是一种用于开发Web应用程序的技术和方法。PWA结合了传统的Web应用程序和原生移动应用程序的最佳特性,旨在提供更好的用户体验。
PWA可以通过浏览器访问,不需要安装在设备上,但它们具有类似原生应用程序的功能和特性。PWA利用Web浏览器提供的API,如 Service Workers 和 Web App Manifest 等,使应用程序可以脱机工作、推送通知,并添加到主屏幕。这些特性使得PWA可以在不同平台和设备上以一致的方式运行,并且无需从应用商店下载和安装。
深入了解 PWA
检查浏览器是否支持PWA
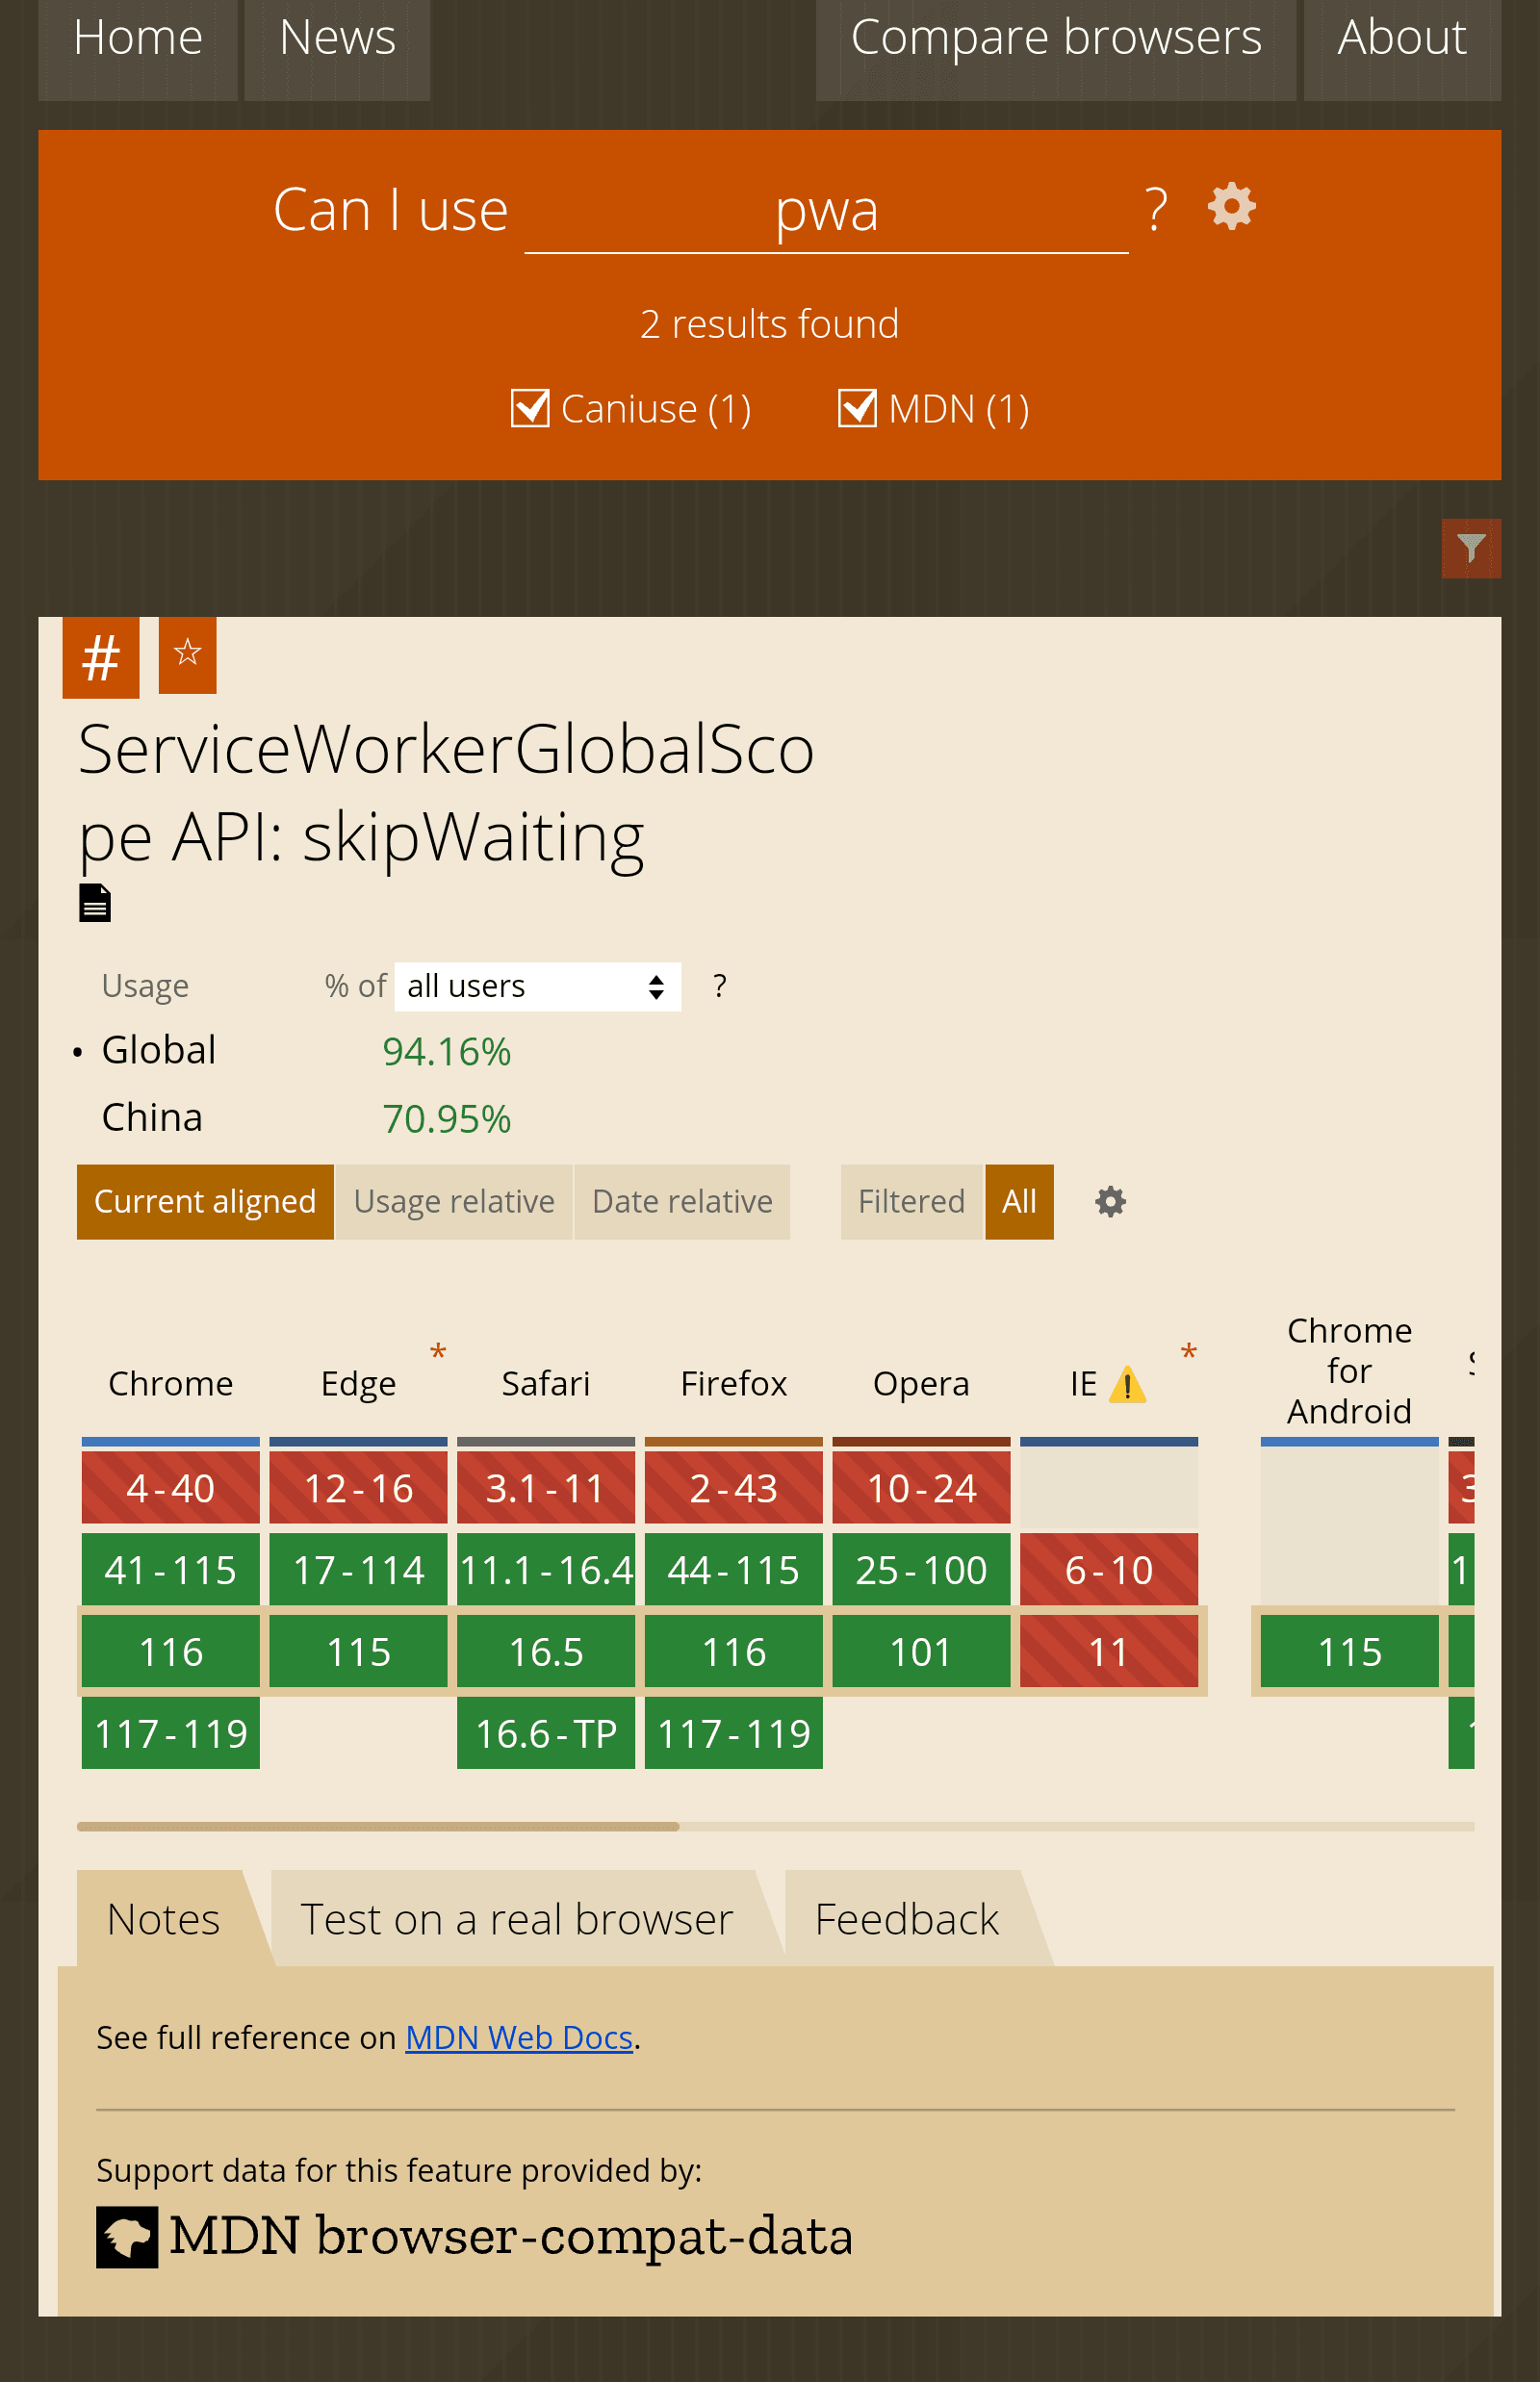
我建议在 caniuse.com 上查询某浏览器是否支持 PWA
网页链接
打开网站后页面大概长这样▽

网站适配PWA
简单来说,网站适配PWA大概分以下几个步骤。
- 全站https化
- 编写 manifest.json 和 sw.js
- 准备 192×192px 的应用图标和 512×512px 的应用图标
- 在网站相关页面引入 manifest.json 文件和 sw.js 文件
接下来是自己的实操。
manifest.json
 1
 2
 3
 4
 5
 6
 7
 8
 9
10
11
12
13
14
15
16
17
18
19
20
|
{
  "name": "春树暮云", // 用于安装横幅和启动画面显示的名称
  "short_name": "春树暮云", // 不为空时,为桌面PWA应用程序的名称
  "theme_color": "#f6ffff", // 主题色
  "background_color": "#f6ffff", // 背景色
  "display": "fullscreen", // 启动过渡动画, standalone或fullscreen
  "scope": "/",
  "start_url": "/", //启动页面
  "icons": [
        {
            "src": "192.png", //根据自己图标的路径改写,下同
            "sizes": "192x192",
            "type": "image/png",
        },
        {
            "src": "512.png",
            "sizes": "512x512",
            "type": "image/png"
        }
  ],
|
上面的代码可以根据实际情况,进行对应更改。
###sw.js###
 1
 2
 3
 4
 5
 6
 7
 8
 9
10
11
12
13
14
15
16
17
18
19
20
21
22
23
24
25
26
27
28
29
30
31
32
33
34
35
36
37
38
39
40
41
42
43
44
45
46
47
48
49
50
51
52
53
54
|
'use strict' //声明整个脚本处于严格模式
const cacheName = 'PWA-cache'; // 缓存名字
const startPage = 'https://example.com'; // 首页地址
const offlinePage = 'https://example.com';// 离线首页地址
const filesToCache = [startPage, offlinePage];

const neverCacheUrls = [/admin/];//从不缓存的目录,如typecho中的"admin"文件夹

self.addEventListener('install', function(e) {
  console.log('Cache event!')
  e.waitUntil(
    // 安装时,对需要缓存的文件进行缓存
    caches.open(cacheStorageKey).then(function(cache) {
      console.log('Adding to Cache:', cacheList)
      return cache.addAll(cacheList)
    }).then(function() {
      console.log('Skip waiting!')
      return self.skipWaiting()
    })
  )
})

self.addEventListener('activate', function(e) {
  // 判断地址是不是需要实时去请求,是就继续发送请求
  console.log('Activate event')
  e.waitUntil(
    Promise.all(
      caches.keys().then(cacheNames => {
        return cacheNames.map(name => {
          if (name !== cacheStorageKey) {
            return caches.delete(name)
          }
        })
      })
    ).then(() => {
      console.log('Clients claims.')
      return self.clients.claim()
    })
  )
})

self.addEventListener('fetch', function(e) {
  // 匹配到缓存资源,就从缓存中返回数据
  e.respondWith(
    caches.match(e.request).then(function(response) {
      if (response != null) {
        console.log('Using cache for:', e.request.url)
        return response
      }
      console.log('Fallback to fetch:', e.request.url)
      return fetch(e.request.url)
    })
  )
})
|
###引入文件###
在<head>标签中引入 manifest.json
1
|
<link rel="manifest" href="manifest.json" crossorigin="anonymous" />
|
然后,在<body>标签中判断是否注册了serviceWorker
 1
 2
 3
 4
 5
 6
 7
 8
 9
10
|
<script type="text/javascript">
    if (navigator.serviceWorker != null) {
        navigator.serviceWorker.register('sw.js')
            .then(function(registration) {
                console.log('Registered events at scope: ', registration.scope);
            }).catch(function(err) {
                console.log('Registered events at fail: ', err);
            });
    }
</script>
|
此时,PWA已经适配完成了。
但是,在 typecho 或 wordpress 等博客系统中,容易产生因各类原因造成的适配不成功的情况。此时,可以选择引导用户手动配置PWA,例如,通过点击按钮配置PWA。
代码如下:
 1
 2
 3
 4
 5
 6
 7
 8
 9
10
11
12
13
14
15
16
17
18
19
20
21
22
23
24
|
<script>
  	var deferredPrompt = null;

		// 判断用户是否安装此应用:beforeinstallprompt,如果用户已经安装过了,那么该事件不会再次触发
  	// 需要卸载,然后重新打开浏览器才能再次触发
    window.addEventListener("beforeinstallprompt", e => {
      e.preventDefault();
      deferredPrompt = e;
    });

  	// 安装完成后触发,即点击安装弹窗中的“安装”后被触发
    window.addEventListener("appinstalled", () => {
      deferredPrompt = null;
    });


    function addToDesktop() {
      // 调用prompt()方法触发安装弹窗
      deferredPrompt.prompt();
      deferredPrompt = null;
    }
</script>

<button onclick="addToDesktop()">点击安装PWA</button>
|
演示如下:
因更换博客系统,此链接已失效,以后有时间会尝试为本站配置PWA
最后,为避免兼容问题,建议在部署PWA时,将 manifest.json和 sw.js 文件置于网站根目录下。

